Search This Blog

Showing posts with label Postgresql. Show all posts

Saturday, October 7, 2017

Enabling SSL on PostgreSQL

In this post, we are going to walk through the steps for enabling ssl on postgresql on your Mac OSX. Enabling SSL requires the following steps.

1. Install openssl on your machine
2. Creating a new server side certificate
3. Update postgresql.conf to turn ssl on
4. Restart the database and test the connection

To install openssl simply type brew install openssl on your command prompt.


Once ssl is installed, create a new server key request

$ openssl req -new -text -out server.req


Enter a passphrase

Follow the steps to create the private key.

Next use the private key to create a server.key

 Enter the passphrase to confirm generation of the server key


 Now delete the private key to prevent it from falling in the wrong hands.

Use the appropriate commands to create a server certificate

openssl req -X509 -in server.req -text -key server.key -out server.cert


Next edit the file postgresql.conf by typing

$ sudo vi /usr/local/var/postgres/postgresql.conf

Change ssl to on

Next, copy the server.crt and server.key files to the $PG_DATA folder

$ sudo mv server.{crt,key} /usr/local/var/postgres

Make sure the database owner has ownership on the server.key file

$ sudo chown arthgallowachs /usr/local/var/postgres/server.key


Finally, restart the Postgresql database by entering the following command

$ pg_ctl -D /usr/local/var/postgres -l /usr/local/var/postgres/server.log restart

Once the database has restarted, login by specifying localhost to make sure the database is being connected over TCP/IP

$ psql -h localhost -U postgres


That's it we have enabled SSL using a self signed certificate.

Monday, January 13, 2014

Installing PostgreSQL on Ubuntu

Installation of latest version of PostgreSQL on Ubuntu is easy. Simply open a command prompt (Ctrl-Alt-T) and enter the following command.

$sudo apt-get install postgresql


Once done, we can see that the necessary files have been copied and the service started.


Next we need to set a password for the postgres user.

The commands for doing these are as follows

$sudo -u postgres psql postgres


On psql, enter the following commands

# \password postgres


You will be asked to enter the password again, and you are done. You may also want to change the default password for the Ubuntu postgres user. You can do that by entering the following command

$ sudo passwd postgres

and entering the new password


You can test the login by entering the following command and supplying the newly created password

$ su - postgres

Next step could be to allow network level users to login, which you can setup following my previous blog post "Setting up Postgresql for Accepting Password Connections".


Wednesday, October 16, 2013

Setting the schema (search_path) in psql using command line options

The need to set schema using command line options

I was looking at ways to set the search_path in psql using command line options. The reason being that I had a bunch of auto-generated sql scripts that I wanted to run for a specific schema in Postgresql. Turns out that there is no out of the box option to set the schema from command line options. However, it is fairly straightforward to add the option.

Verifying the default schema


By default, when a user logs into psql, the search_path includes the public and $user schema. This can be verified by entering the show search_path command on the psql terminal as shown below.

=> show search_path;


To change the default schema from the psql command line, the first step is to edit the .psqlrc file on your machine.

Editing the ~/.psqlrc file


Postgresql's psql file allows users to extend the behaviour of the psql tool. Open a terminal window and type in the following commands.

$ sudo gedit ~/.psqlrc


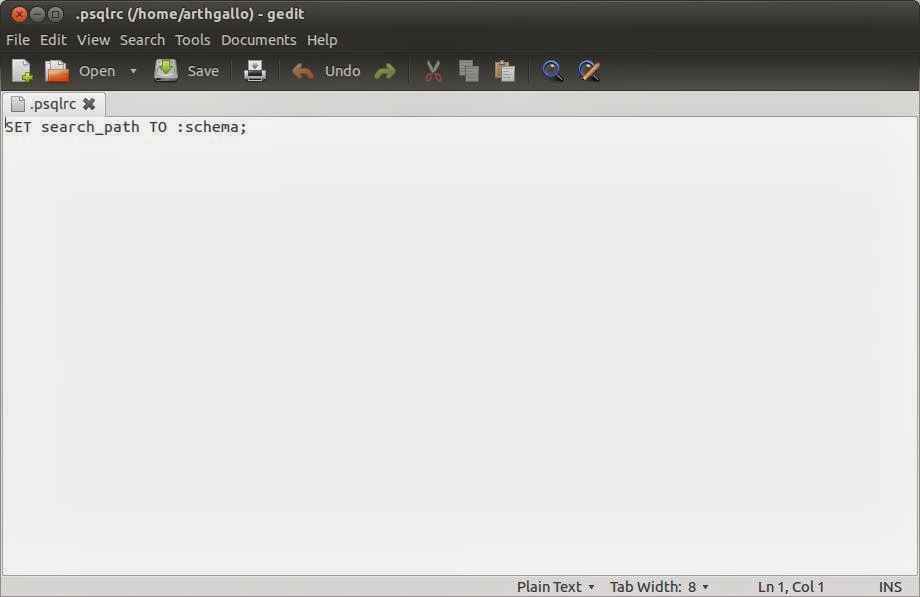
This will open the existing (or new) ~./psqlrc file on your machine for editing.

Add the following line to the file.

SET search_path TO :schema;


This exposes search_path as a variable that can be set from the command line. Now, specifying a schema as a parameter sets the schema(search_path) to the specified value, as shown below....

In the following statement, nystaging is the name of the schema I want to set the value to.

$ psql -U nydot -d nywarehouse -v schema=nystaging


This changes the default schema to nystaging. This can be verified again by entering the show search_path command, as shown below....

=> show search_path;


To revert to the default path, you can specify the default path as a command line parameter, or comment the line in ~./psqlrc file.

That's it.


Thursday, January 24, 2013

Setting up Postgresql for Accepting Password Connections

I was setting up a new machine with a fresh postgresql install, and I had just created a new user account. As I tried to login to psql from the terminal window, I got the dreaded message informing me that the authentication failed. I realized, I had not set up my environment to accept local connections for different users. So in this post, let us see how to do that.

While the steps shown here are for PostgreSQL 9.1, they are valid for 9.3 as well.

First, the following screen will show the kind of error I received. Note that the user 'nyadmin' had been created while logged in as the postgres user. You can also see that I tried multiple attempts to login before realizing that this was a fresh installation.


Allowing trusted connections to Postgresql

The file that allows the administrator to manage which users can connect and which cannot, is called pg_hba.conf. I have seen this move around to different locations for different versions of the database, but currently in my environment it was deployed under /etc/postgresql/9.1

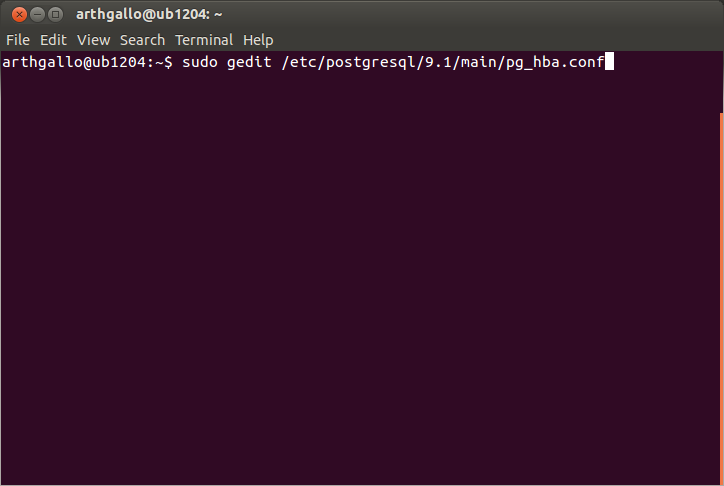
We need to edit this file as an administrator, since my user does not have rights to save the file within the etc folder. Hence, we need to use sudo before the gedit command as follows.

> sudo gedit /etc/postgresql/9.1/main/pg_hba.conf


We need to edit the file to make following changes

  1. Changed postgres authentication to identity from peer
  2. Changed local authentication to md5 from peer

This means that I will need to become OS level postgres user to connect to Postgres. Also, locally connecting users can now enter their passwords to connect the database.

You can see the changes in the screen shot below. I commented the previously existing privileges to highlight the changes.

First, the line....
local all postgres peer
....was commented, with a “#' and the following line added below it
local all postgres ident

Then, the line....
local all all peer
....was commented, with a “#' and the following line added below it
local all all md5


With these changes, we can save the file and close the editor. Next we need to restart the database service.

Restarting Postgresql service

For restarting the service, we need to first switch to the postgres OS level user. This can be done by entering .....

> sudo -u postgres service postgresql restart

..... or you can do it in two steps, as shown below.

> su – postgres


System will prompt for the postgres user password, which is postgres by default. Once in, you can issue the restart command as follows

postgres > service postgresql restart


Enter command “exit” to come back to the original prompt. Now enter the command to login as the created user.

> psql -U nyadmin -d template1 -W


Here,
-U denotes the user,
-d tells the system which database to connect to. Since I have not yet configured a default database for this user, I need to explicitly mention template1
-W tells the system that use a password.

The system prompts for the password, which I entered, and we are in.


In the next post, we will create a default database for this user.

Friday, January 18, 2013

Adding Postgresql support to Pentaho BI Server Community Edition

At the start of a new project, I wanted to use postgresql database as my database repository for a BI dashboard project. I had selected Pentaho as the BI Server of choice along with its associated components. Previous posts have walked through the installation of the Pentaho BI Server Community Edition on a Ubuntu box as well as Installation of Dashboard tools on Pentaho BI Servers Community Edition.

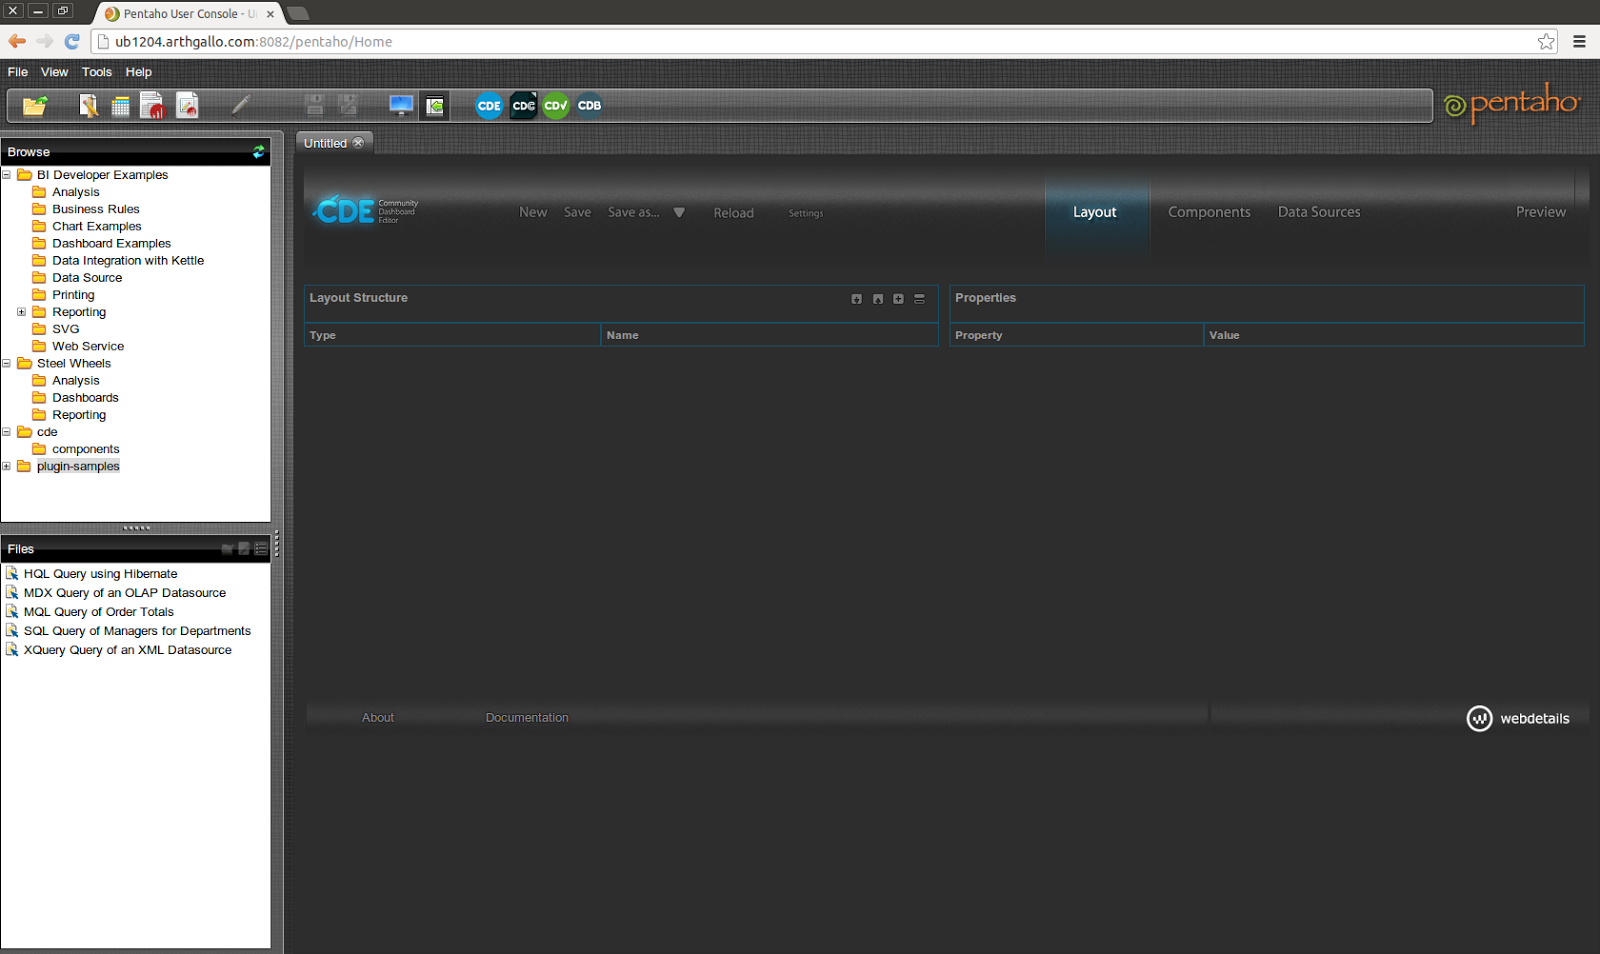
I launched the Pentaho BI Server and accessed the Community Data Dashboard to see the default dashboard.


The first step is to add a data source, which I did my accessing File> New > Data Source on the top level menu for Pentaho BI Server.


This brings the following page, where I selected Database Table(s) as the option.


Selecting Database Table(s) brings the following options, where I gave the database name and the option that I wanted to use the data source for reporting and analysis.


At this point, it also lists the available connections on the Pentaho server environment. To add a new connection, you need to click on the + button to the right of list of data connections, that is a green circular button with a plus sign.

Clicking on the button brings the following dialog box to define a new connection.


As you can see, Postgresql is not a supported option. Thankfully, they have provided a link for Adding Databases, which is a help link that provides the information needed. It suggests that to add support for a new database, it has to be deployed and configured in multiple places, and provides the list of places where changes need to be made.


Here is a step by step description of what all I did.

Downloading the Postgresql JDBC drivers

First step was to download the Postgresql JDBC drivers. Postgresql JDBC drivers are available at http://jdbc.postgresql.org/download.html


The page provides links to the latest drivers as well as older drivers. To ensure I was getting the right version of the drivers, I opened a new terminal window, launched Postgresql and typed the command to get the version.

> psql
psql > show server_version;


So I downloaded the JDBC drivers for Postgresql 9.1 from the website and copied them to the folder where I could access them.


Before copying them over to the pentaho location, I had to shutdown the Pentaho server, which I did by issuing the stop command in the Pentaho installation folder.

> ./stop-pentaho.sh


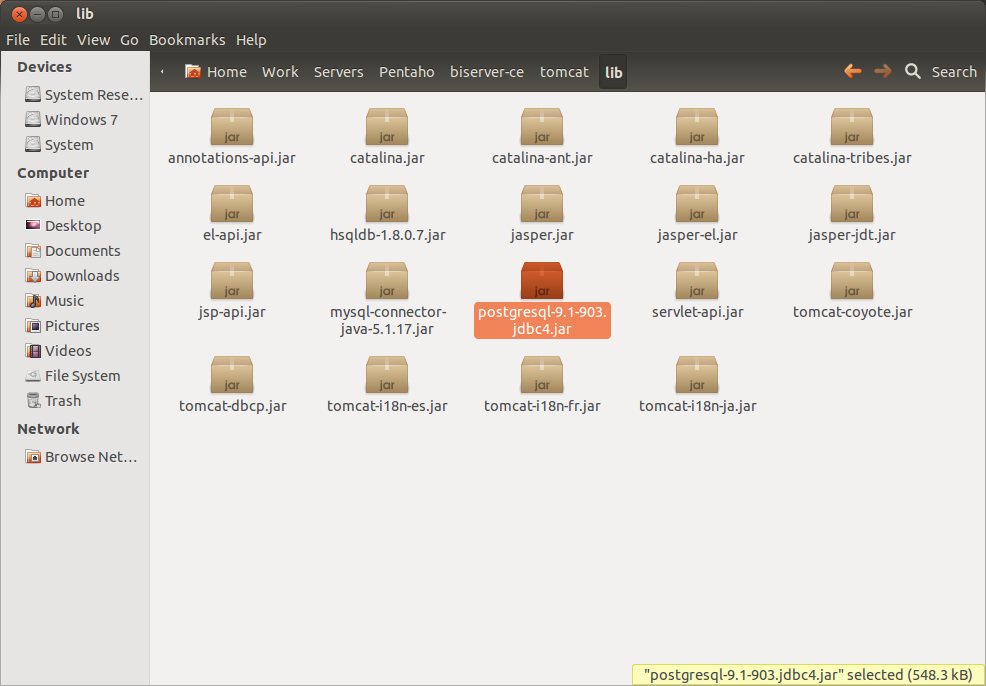
I copied the driver jar file to the first location below.

//Work/Servers/Pentaho/biserver-ce/tomcat/lib


I also copied postgresql to the administration-console folder for pentaho.


Then, I restarted the Tomcat server and retraced my steps to define a new connection as shown earlier in this post by accessing File > New > Data Source on the menu and clicking on the option to add a new connection.

On the connections dialog box, we can now see the option to add Posrgresql as a valid data source.

Adding all the details in for the connection, we can add the connection to the environment.

Now we can configure our portal using postgresql data.


Monday, October 15, 2012

Setting up Postgresql for the default OS user


I tried accessing Postgresql user from my default login on Ubuntu (this is not a sudoer level user) and was unable to do so.

> psql

Gave the following response


So, I needed to add the currently logged in Ubuntu user to the postgresql list of users. For that I switched to the postgres user by entering the following and the postgres user password in the response.

> su – postgres

That made postgres user the current user in my Ubuntu session.


Now, to add the database user for current user as follows:

> createuser --superuser arthgallo

Where arthgallo is my OS level user name


Now, we need to enter the password for this database level user. For that, lets login to the psql prompt using the postgres user.

At the psql prompt, enter the command to update the password for arthgallo user.

psql > \password arthgallo


Enter your OS level password twice

Now quit the psql prompt using '\q' and 'exit' from the postgres user by entering 'exit'. Thus should bring you back to the OS level prompt for your user (arthgallo) in my case.

Enter the command to create the default database

> createdb arthgallo


Now start the psql prompt, and you should be connecting to postgresql session with your default database.


That's it!!