In this post, I want to write about downloading and installing Alfresco 5.0, an Open Source Enterprise Content Management System on Ubuntu 13.10. In a
previous post, I had deployed Alfresco 4.2 Community Edition on Ubuntu 12.04. The steps are nearly identical with some minor differences.
From the primary site, I navigated to url http://www.alfresco.com/products/community/download to see available installers for the Community Edition of the software.
Entering the details brought me to the following page:
Clicking on the second link for Linux installer, it starts downloading the installer to your machine.
Once download was complete, I closed the browser to proceed. To install, move the installer to a target folder from the downloads folder.
Next, we need to make the installer executable
$ chmod a+x *.bin
Now, we need to run the installer by issuing the following command
$ ./alfresco-community-5.0.c-installer-linux-x64.bin
This brings the dialog box for default language
Next screen, informs that we are setting up the community edition of the software
Clicked on forward gives the following screen. Since, I knew I would have to modify the port entries, I selected the Advanced option to change default ports and other settings.
On the next screen, I checked off the software components that I already had on my machine (Java, PostgreSQL, LibreOffice) and turned off the components I did not need (SharePoint). Ended up making the following selections
In the next screen, we select the installation folder. I updated the default location to something of my preference.
I wanted to deploy the software against PostgreSQL, which is the option it gave me. I created a user called sa and a database called alfresco5 on my machine using pgAdmin III tool.
With the database created, I can resume the installation to go to the next screen that prompts to enter the database connection values.
The next screen displays the ports to be setup. I checked my open ports using appropriate tools. I have posted on the way to check
available ports here. Based on the results, I modified the default port entries as follows:
Next the installation prompted for a ftp port setting. I left it as default.
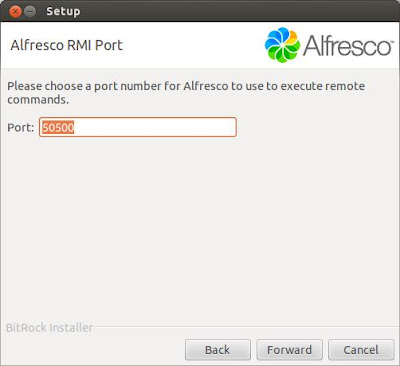
Next the installer prompted for the RMI port for remote invocation. I again left it as default.
Finally, the installer asks the installer to specify a password for the admin user. I put my admin password as “admin123”, so I could remember it easily.
Clicking on Forward brought a prompt indicating the setup was ready as shown below.
Clicking on the Forward button, starts the installation. It takes a while after setting up the files for the installation to complete.
After the installation is complete, the following prompt is shown.
The application took some time as the initial tables were setup in the database repository and finally the Alfresco site was displayed on the browser. Accessing the site http://localhost:8082/share in Alfresco 5.0 prompts for the admin login and password. I entered my admin credentials in the screen as shown below.
This brings up the Alfresco dashboard as shown below.
In this post, we saw how to setup Alfresco Community Edition, an Enterprise Content Management software on an Ubuntu 13.10 machine.


%2B-%2Bgedit_139.png)


