In this post, we will walk through the
steps for downloading and installing Post GIS. This of course assumes
that you have Postgresql already installed and running on your
machine. Note: In my post, I have provided the complete script for
downloading and building all extensions and the actual stuff towards
the end, so no need to copy individual steps. However, I will still
walk through these interactively as well.
The first step is to download and
install PostGIS from source. Open a command window and type the
following to get the latest version of PostGIS source.
The latest version of the software is
available at the following url.
http://download.osgeo.org/postgis/source/postgis-2.0.2.tar.gz
We will also need some additional
libraries to set up projection, spatial analysis and other similar
support by entering the following.
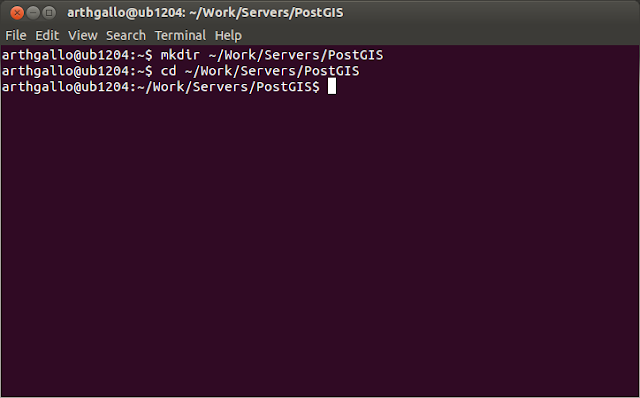
mkdir ~/Work/Servers/PostGIS
cd ~/Work/Servers/PostGIS
Prior to getting the actual PostGIS
source and building it, we would need to obtain several extensions
that are needed to get the complete functionality. Since these need
to be downloaded and installed first, we will create a folder for
extensions and compile all these prior to getting the PostGIS sources
and building it.
mkdir extensions
cd extensions
wget
http://download.osgeo.org/proj/proj-4.8.0.tar.gz
tar -xvf proj-4.8.0.tar.gz
cd proj-4.8.0
./configure
make
sudo make install
We also need the geos library to
support the various geometry functions. This is available from the
geos website using the following set of commands.
cd ..
wget
http://download.osgeo.org/geos/geos-3.3.7.tar.bz2
tar -xvf geos-3.3.7.tar.bz2
cd geos-3.3.7
./configure
make
sudo make install
Another library that is important is
libxml2 that can provide support for GML
conversion functions. This can be obtained from the libxml2 website.
The source files are located on the ftp site, and we can install these using the following
commands.
cd ..
wget
ftp://xmlsoft.org/libxml2/libxml2-2.9.0.tar.gz
tar -xvf libxml2-2.9.0.tar.gz
cd libxml2-2.9.0
./configure
make
sudo make install
Next, we need to get the libraries for
importing and exporting data as GeoJSON. The website is
http://oss.metaparadigm.com/json-c/.
The script for getting the stuff is as
follows.
cd ..
tar -xvf json-c-0.9.tar.gz
cd json-c-0.9
./configure
make
sudo make install
Next, we need to get the latest version of gdal libraries to add raster support.
cd ..
wget
http://download.osgeo.org/gdal/gdal-1.9.1.tar.gz
tar xvzf gdal-1.9.1.tar.gz
cd gdal-1.9.1/
./configure
make
sudo make install
Finally, we can get the postgis source
and build it.
cd
../..
wget
http://download.osgeo.org/postgis/source/postgis-2.0.2.tar.gz
tar
-xvf postgis-2.0.2.tar.gz
cd
postgis-2.0.2
./configure
--with-gui
--with-raster --with-topology
make
sudo
make install
Here is the complete script as
promised. Please change to match your environment.
mkdir
~/Work/Servers/PostGIS
cd
~/Work/Servers/PostGIS
mkdir
extensions
cd
extensions
wget
http://download.osgeo.org/proj/proj-4.8.0.tar.gz
tar
-xvf proj-4.8.0.tar.gz
cd
proj-4.8.0
./configure
make
sudo
make install
cd
..
wget
http://download.osgeo.org/geos/geos-3.3.7.tar.bz2
tar
-xvf geos-3.3.7.tar.bz2
cd
geos-3.3.7
./configure
make
sudo
make install
cd
..
wget
ftp://xmlsoft.org/libxml2/libxml2-2.9.0.tar.gz
tar
-xvf libxml2-2.9.0.tar.gz
cd
libxml2-2.9.0
./configure
make
sudo
make install
cd
..
wget
http://download.osgeo.org/gdal/gdal-1.9.1.tar.gz
tar
xvzf gdal-1.9.1.tar.gz
cd
gdal-1.9.1/
./configure
make
sudo
make install
cd
../..
wget
http://download.osgeo.org/postgis/source/postgis-2.0.2.tar.gz
tar
-xvf postgis-2.0.2.tar.gz
cd
postgis-2.0.2
./configure
--with-gui
--with-raster --with-topology
make
sudo
make install
Hope this sets up PostGIS on your
machine. To make sure, login to psql and fire the following command.
psql>
SELECT
name, default_version,installed_version
FROM
pg_available_extensions WHERE name LIKE 'postgis%' ;
This should return postgis and
postgis_topology as the two matching extensions installed.
Spatially Enabling your database
Now to enable spatial extensions on a
database of your choice. The steps are easy. Login as the postgres
user to the OS. Connect to the database of your choice that you want
to spatially enable as the postgres user and run the create extension
sql statement.
Here are the commands
> su – postgres
postgres> psql -d <your_data_base_name>
psql> create extension postgis;
If everything is set up correctly, this should work like a charm.
For me it did not. What I did to resolve the issue will be the subject of my next post.
For me it did not. What I did to resolve the issue will be the subject of my next post.


No comments:
Post a Comment