First, become root
$ sudo su
and enter password

Next check java install folder
$ which java

However this is just the symbolic link. To find the actual folder, we will use the following command.
$ readlink -f $(which java)

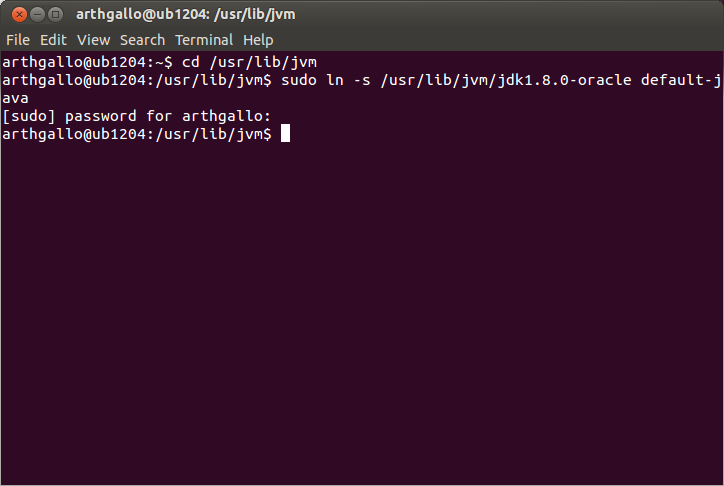
Now we will create a new symbolic link for the actual folder within /usr/lib/jvm called default-java pointing to my Oracle JDK in this case. This will allow me to re-point the symbolic link to any future versions if needed.
$ cd /usr/lib/jvm
$ sudo ln -s /usr/lib/jvm/jdk1.8.0-oracle default-java
Next, go back to home and open the .bashrc file in editor
$ cd
$ gedit .bashrc

Add the following lines at the end of the file
JAVA_HOME=/usr/lib/jvm/default-java
export JAVA_HOME
PATH=$PATH:$JAVA_HOME
export PATH

Now save and close this file, and close the terminal
Open a new terminal using Ctrl-Alt-T
Enter the command
$ echo $JAVA_HOME
$ java -version
You should see the JAVA_HOME as well as version of Java installed. This way of setting up can allow you to update the current JVM using update-alternatives command. So see how to configure using update alternatives, refer to my previous post.

That's it!
No comments:
Post a Comment